
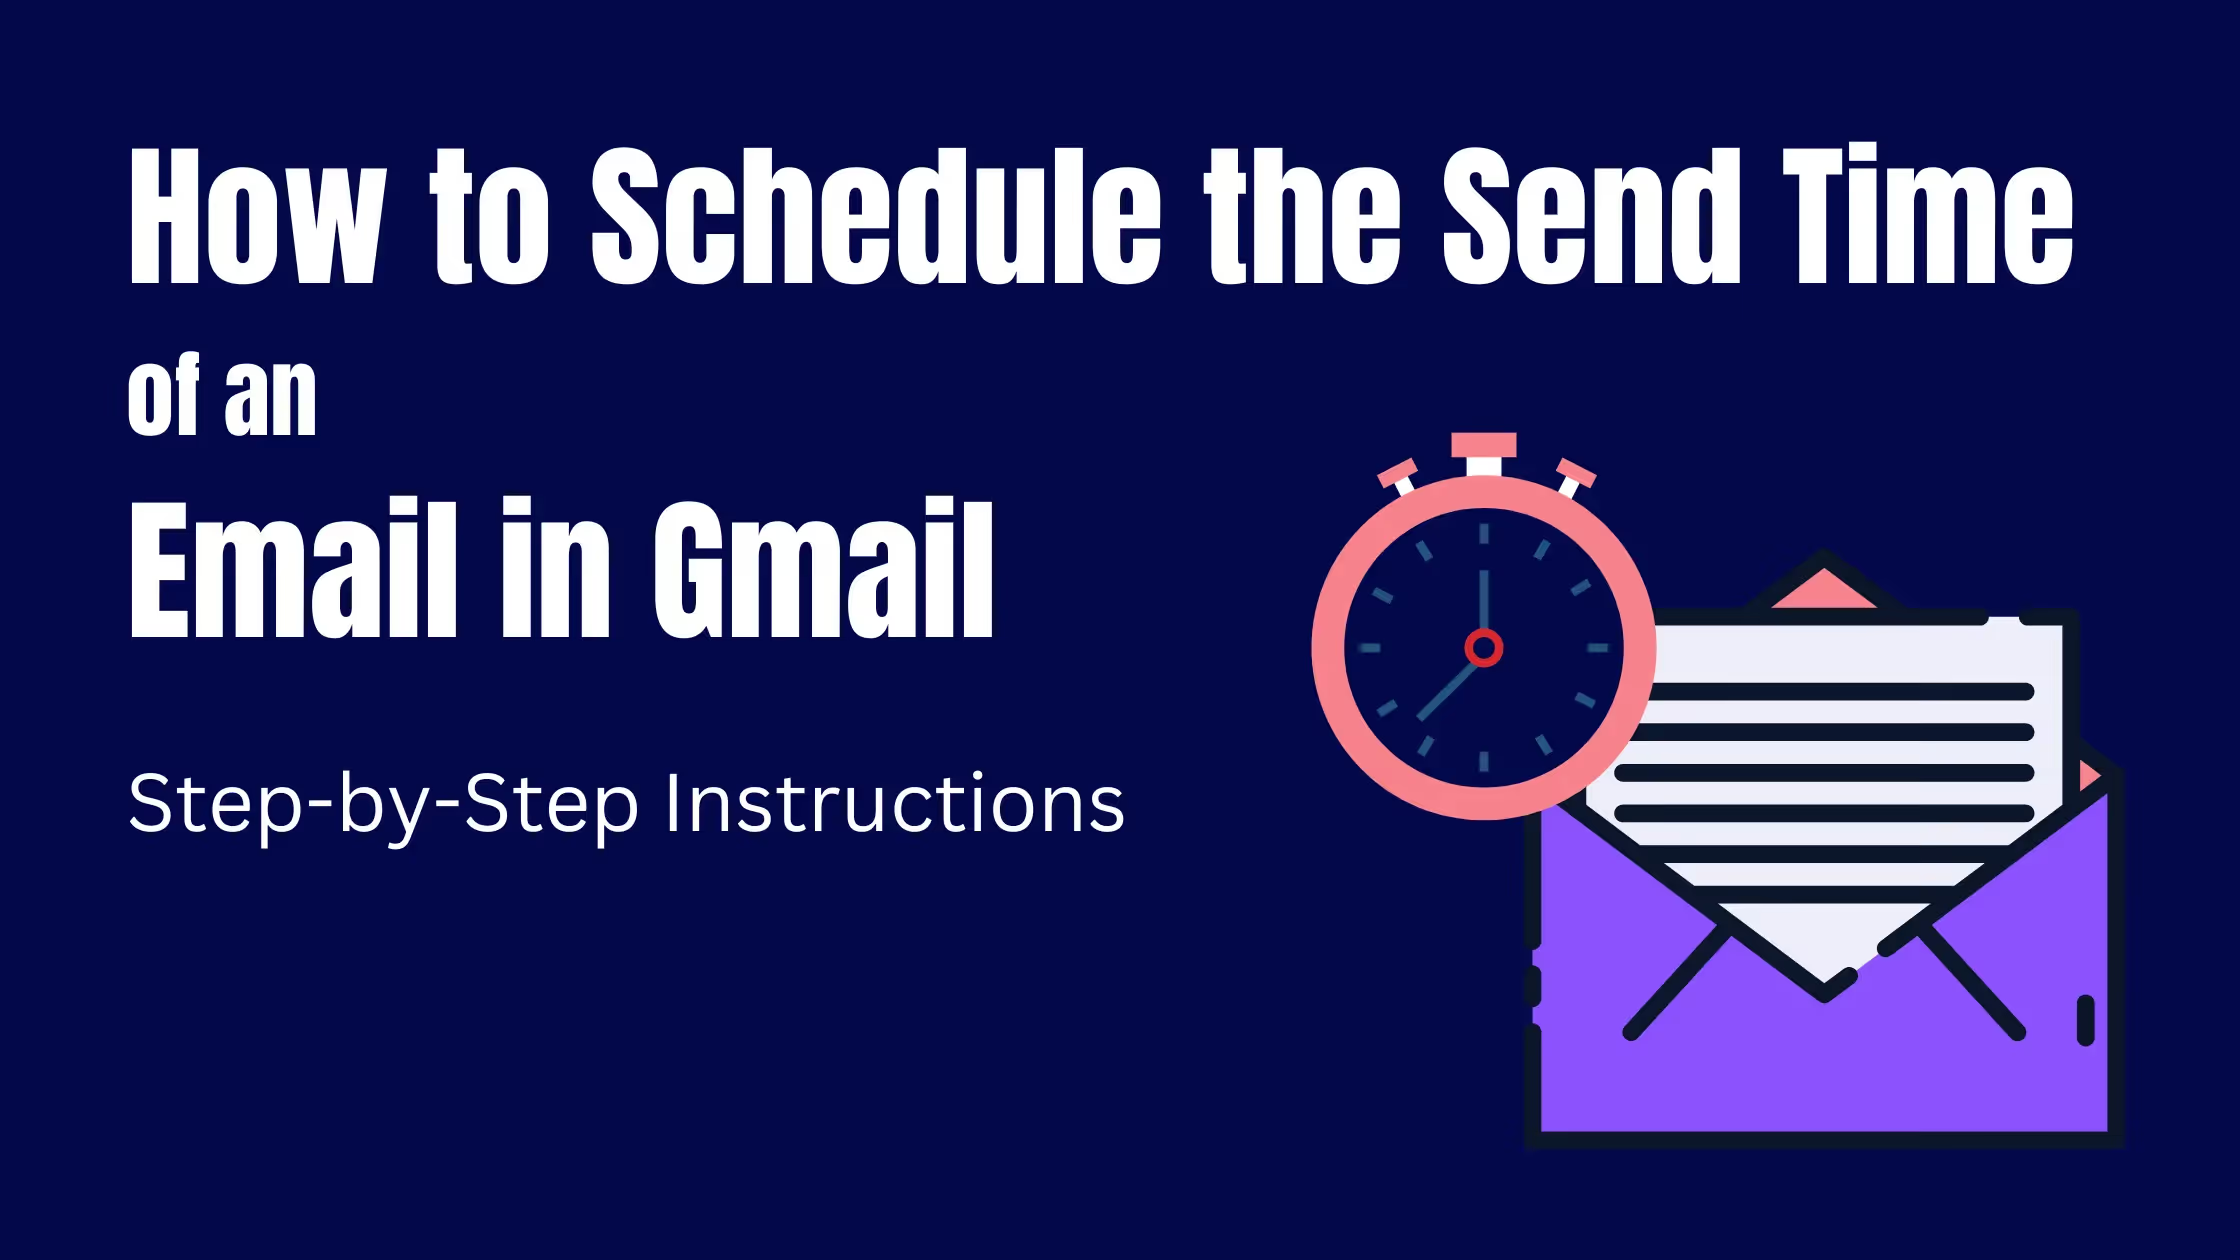
Ever wished your emails could magically show up in someone’s inbox at the perfect time?
Want your emails to land at just the right time? Scheduling in Outlook is a simple trick that can seriously boost your productivity. It helps you communicate across time zones more thoughtfully, and saves you from accidentally pinging someone in the middle of the night.
In this guide, we’ll walk through seven effective strategies to schedule emails in Outlook (covering Windows, Mac, web, and mobile), plus how to manage scheduled messages. We’ll also show how an advanced tool like Smartlead can take your scheduling to the next level.
Let’s make your inbox work for you, not against you.
Think scheduling emails is just a nice-to-have? Think again. In Outlook, it can seriously level up your workflow and help you land replies when it matters most.
In short, scheduling emails in Outlook helps you optimize email timing, boost productivity, and maintain professional etiquette, all without staying glued to your inbox.
If you're using the classic Outlook desktop app on Windows, the one with the Ribbon and File menu, the Delay Delivery feature is your go-to tool for Outlook delayed delivery.
Here’s how to schedule an email for later in Outlook:
Heads-up: This is a client-side setting. It means Outlook must stay open and connected. If you shut it down before your email gets sent, it'll just sit in the Outbox until you reopen it.
While the newer versions use "Schedule Send", this classic Outlook delay delivery method still works like a charm, especially with Exchange, Office 365, or even Gmail/IMAP setups.

With the New Outlook for Windows (revamped in 2023) and Outlook Web App, Microsoft rolled out a cleaner, smarter Schedule Send feature. Unlike the old Delay Delivery, this one is cloud-based — meaning your email gets sent even if your laptop’s napping.
Here’s how to use Outlook schedule send like a pro:
The email will sit in your Drafts folder until showtime. Outlook takes care of the rest, no app-staying-open drama required.
💡 Pro tip: Schedule send Outlook web works best with Outlook.com, Microsoft 365, or Exchange accounts. Using Gmail or Yahoo? Sorry buddy, no dice. (Try Outlook desktop + Delay Delivery instead.)
Good news, Mac users! Outlook for Mac schedule emails is smooth and simple thanks to the Schedule Send feature (previously known as Send Later). No hacks or third-party plugins needed.
Here’s how to do it:
On Outlook for Mac, scheduled emails sit in your Drafts folder until the set time, and yes, they’ll still send even if Outlook is closed or your Mac is offline (as long as it’s an Exchange or Outlook account).
Need to make changes? Open the draft and hit Cancel Send to edit or delete it.
Heads-up: This only works with Outlook/Exchange accounts. POP/IMAP accounts like Gmail, Yahoo, or iCloud don’t support scheduling on Mac. You’ll need to use their native schedulers instead.
👉 You can also explore tools like email sequence software if you’re managing outreach across platforms or need automated follow-ups.
If you use the Outlook mobile app on your iPhone or Android device, you can schedule emails there too, a handy feature introduced in recent updates. This is perfect for when you’re on the go but want your message sent at a better time.
Scheduled emails are stored in your Drafts folder, and you’ll see a timestamp indicating the scheduled delivery.
To edit or cancel, open the draft, tap the pencil icon, and either change the time or tap Send Now. On iOS, there’s also a Cancel Send button at the bottom.
Note: Outlook mobile app scheduling only works with Outlook.com, Exchange, or Office 365 accounts. Gmail or IMAP users may find the feature unavailable or inconsistent.
Ever wished Outlook had a “repeat email” button like it does for calendar events? Sadly, there's no built-in feature for scheduling recurring emails in Outlook, but there’s a smart workaround using templates and tasks. Here’s how to pull it off without writing the same email every week:
Write the email you’ll be sending repeatedly (like a weekly update or monthly reminder). Don’t hit send. Instead, save it as a template.
In Outlook for Windows, go to File > Save As, then choose Outlook Template (.oft). Give it a clear name like “Weekly Update.oft”. This will preserve your subject, body, and formatting.
Using Outlook Web? You can create templates under My Templates, or just save a draft for reuse.
To keep the habit going, schedule a recurring Outlook task or calendar event to remind you. Name it something obvious like “Send Weekly Update Email” and set it to repeat, say, every Monday at 9 AM.
This ensures you never forget to send it, even when you're swamped.
When your reminder shows up, just open your saved template (.oft file or My Template), tweak any details, and hit Send.
Boom! You got a recurring email without the need for code or automation tools.
Sure, you’re still manually sending it, but 90% of the work is done.
However, If you're after full automation (like “send this email every Friday, no reminders”), tools like Microsoft Power Automate can help. Though, you’ll need an Office 365 business account and some setup chops.
For advanced users, options like VBA scripts or third-party add-ins (e.g. MAPILab) exist, but they come with extra permissions and complexity.
Bottom line: By default Outlook doesn’t support automated recurring email delivery. The “templates + tasks” method is a solid no-code workaround. If you're looking to automate entire email sequences, this email sequence software guide might come in handy.
Sometimes, you might not be targeting a specific send time far in the future, but you want a blanket delay on every email you send. Perhaps you want a 5-minute window to hit “undo” or realize you forgot an attachment, or you want all your emails to go out during work hours by holding any night-time sends.
Outlook for Windows email scheduling has a feature for this: you can create a Rule that applies Outlook delay delivery options to all outgoing messages by a set number of minutes.
Here’s how to set up a rule to delay all emails:
With this rule in place, all emails are temporarily stored in the Outbox folder for the delay duration. It’s a great buffer in case you need to edit or cancel the email quickly, basically an extended version of Outlook’s undo send.
A few things to know:
This isn’t about scheduling for a precise time, it’s about applying a consistent buffer. Great for avoiding midnight email regrets or catching last-minute errors.
Outlook is great for basic tasks like delaying delivery or scheduling one-off emails. But what if you’re handling bulk outreach, automated follow-ups, or multi-step campaigns? That’s where Smartlead.ai steps in.
With Smartlead, you can:
Just connect your Outlook account via SMTP or API, set up your campaign, and Smartlead handles the rest, all while keeping things synced with your inbox.
Here’s a simple use case:
Let’s say you want to:
Doing this manually in Outlook would be painful, you'd need to schedule hundreds of emails individually and track engagement yourself.
With Smartlead, you create a campaign once, define the flow, and it’ll:
You’re essentially applying email automation Outlook users wish they had.
Unlike Outlook email scheduling, Smartlead can run automated outreach sequences, perfect for cold email campaigns, sales funnels, or recurring updates. Plus, it offers:
Smartlead doesn’t replace Outlook, it enhances it for power users.
For a deeper dive, check out our guide on cold email automation for B2B customers.

After scheduling an email, you might want to double-check it or change your mind about sending it. The process to view or modify a scheduled email in Outlook depends on which version you’re using, here’s how it works across different platforms:
Scheduled emails sit in your Outbox folder. Double-click to edit the message. Go to Options > Delay Delivery to change the send time, or uncheck the delay box to send it immediately. To cancel, simply delete it from the Outbox.
Note: Outlook must stay open and connected for the email to send as scheduled, this is a key limitation of Outlook delay delivery options in the desktop version.
Emails scheduled with the newer Schedule Send Outlook feature are saved in your Drafts folder until the send time. Open the draft, click the pencil icon, and choose to edit, reschedule, Send Now, or Cancel Send.
This cloud-based Outlook email scheduling method ensures the message sends even if your device is offline.
Similar to the web version, Outlook Mac schedule emails appear in the Drafts folder. To cancel or edit, open the draft and use the Cancel Send button or make changes and save it again.
This feature works only with Exchange, Outlook.com, or Microsoft 365 accounts, not IMAP or POP.
Using the Outlook mobile app scheduling feature? Head to Drafts in the app. Open the scheduled email, tap the pencil icon, and choose to Send Now, change time, or Cancel Send. You can also delete the draft if needed.
Tip: Can’t remember if an email was scheduled?
Managing Outlook scheduled email delivery helps avoid awkward timing or outdated info. Whether you're changing plans or catching a last-minute typo, Outlook gives you the flexibility to edit scheduled emails, as long as they haven’t been sent yet.
A: It depends on the version of Outlook you’re using. If you used Delay Delivery in classic Outlook for Windows, the email will not send unless your Outlook application is open and connected at the scheduled time. The message will wait in your Outbox folder on your PC, this is typical of Outlook delay delivery options.
However, if you scheduled an email via Outlook Web App, the New Outlook schedule send interface, or Outlook for Mac, these use cloud-based scheduling, your device can be off, and the email will still send on time. So, Schedule Send Outlook web and Mac versions are more reliable if you need the message to go out regardless of device status.
A: If the Schedule Send or Send Later feature is missing, it’s likely due to your Outlook version or email account type. This feature works only with Microsoft 365, Exchange, or Outlook.com accounts. It does not appear for POP or IMAP accounts (like Gmail, Yahoo, or iCloud in Outlook).
Also, older desktop versions (e.g., Outlook 2016/2019 without subscription updates) won’t have this feature. Instead, you’ll have access to Outlook delay delivery under the Options > Delay Delivery menu. If you're using Outlook mobile app scheduling, make sure the app is updated. Schedule Send was rolled out in 2023.
When in doubt, open your Outlook web app schedule email interface, it almost always has the feature by default.
A: Outlook doesn’t have a built-in schedule recurring emails Outlook feature, but there are workarounds. You can manually schedule send Outlook messages in advance, or use the Outlook email templates scheduling method (explained in Strategy 5) alongside recurring Outlook tasks or calendar events as reminders.
For fully automated recurring emails, consider Power Automate, third-party tools, or a dedicated email automation platform like Smartlead. These support drip sequences and email workflow optimization. You can explore more options in this guide on email automation tools.
A: Yes. In classic Outlook desktop, you can create a rule to defer delivery by a number of minutes (up to 120 minutes). This creates a global delay for all emails, effectively a longer Outlook undo send buffer. Messages remain in the Outbox, and you can edit or delete them before they’re sent.
In Outlook for web or mobile, you only get a brief 10-second Undo Send option, configurable in Outlook.com settings. If you need a longer delay across all emails, stick with Outlook rules delay emails in the desktop app, but remember, Outlook must stay open for the rule to work.
Real talk: timing matters. when you send an email can matter just as much as what you say. That’s why Outlook’s scheduling feature is so useful. We walked through how to use it across devices, plus a few smart ways to automate and manage your sends.
TL;DR? If your email isn’t urgent, don’t blast it out right away. Schedule it. You’ll dodge the late-night weirdness, score more replies, and look like a total pro.
And when Outlook email scheduling tools start feeling a bit too basic? That’s where Smartlead steps in. It handles bulk emails, smart scheduling, and automated follow-ups, so you can stop worrying about logistics and just hit your goals.
Ready to level up your email game? Give Outlook’s scheduler a try on your next message – you’ll love the flexibility it gives you. And if you’re eager to go further, consider trying out Smartlead to automate and scale your outreach. With the right email timing strategies (and the right tools), you’ll communicate smarter, save time, and maybe even get better results from your emails.
(Interested in advanced scheduling and automation tools? Check out our guide on cold email best practices to see how Smartlead can boost your performance)
Join us to elevate your outreach!


Founder, StackOptimise
Smartlead's combination of automation, unlimited inboxes, and easy campaign management has completely transformed how we run cold email campaigns.
.jpg)
Founder, Cold Email Hackers

We have about 15 companies and we use Smartlead for all of them.

Founder, DutchSave Media
One of the things I love about using Smartlead is the deliverability feature. If they landed in the bounce or spam folders, we could resolve this quickly.

Co-Founder, Growth Today
I want to continue to use Smartlead to make operations more seamless - the plan is to bring more clients here and build more SOPs.

Founder, FueltoFly
Smartlead listens to the agencies and customers and builds according to what people want, that has really made things easier for us.

Founder, OutboundSync
We build an infrastructure product, and OutboundSync communicates with Smartlead itself. I love the webhook and API. They're really well done and keep getting better.

Founder, Axoleads
With SmartDelivery, you can put all of that in the hands of the tool. It ensures your emails land in inboxes, and by running a simple test, you can see if you're hitting the mark.

Founder, Claygen
Deliverability is the cornerstone of cold email outreach. You could have the best email copy in the world, but if no one is seeing it, it's useless. I really love the feature where you can actually give client accesses to your clients.

Co-Founder, Cymate
I do not want to switch to another software. Pick a solution you trust, stick with it, and keep refining your copy.

CMO, Avalanche Capital
Managing large volumes of emails through multiple inboxes used to be a logistical nightmare. With Smartlead, the process is seamless. We book thousands of discovery calls through cold emails. These campaigns are generating leads at a scale we never thought possible.

Founder, Growth Engine X
We came for the unlimited inboxes, and we stayed for the API. 1.5M cold emails/month, 7,767+ inboxes managed.

Head of Community & Ecosystem, TxtCart
You cannot replace having 10,000 touches with potential clients. When you have that much distribution and reach, you really start to see incredible results. The simplicity of Smartlead made all the difference. It doesn't require you to be a technical wizard.

Founder, Hyperke
Smartlead has been a game-changer for us. It increased our appointment volume, improved ease of use, and offered valuable features. 80% increase in appointments/month, peak of 276 appointments in a single month.

Founder, Kinetyca
Smartlead has been our cold email backbone from day one. The platform evolves constantly, keeping pace with how deliverability and personalization need to work today. 21% overall reply rate, $175K in 4 months for multiple B2B clients.

Founder, Reachflow
Smartlead is centered around deliverability and constantly evolving. Their API is not like any other platform. Smartlead covers all our needs. The focus on core features like deliverability and API integration is unmatched.

CEO, Halfwarm
Our approach to crafting conversational emails led to reply rates that many of my peers thought were unattainable.

Co-Founder, letstrike
We've grown on zero capital, zero marketing, purely cold emailing - and that's the story we love to tell. The best approach is no approach if you can't handle domain meltdown. The second best is something like Smartlead that's built from the ground up for deliverability at scale.

Founder, Fenixtal
Smartlead's white-labeling and automation let us punch above our weight. The 12M euros sales potential? That's what happens when you combine human creativity with Smartlead's precision.

Co-Founder, Digital Creativs
Nine out of 10. Ninety percent of our clients are on Smartlead unless they come in with an existing setup. That's the default.

Co-Founder, BuildingReach
At the end of the day, you have to take a bet on one tool or another. It was a no-brainer taking that bet on Smartlead. We had to even turn down the volume of our marketing campaigns - Smartlead was capable of driving more volume than our sales team was able to fulfill.

Founder & MD, Prospectiv
Since starting the business in January of this year, we've already generated $200K in sales exclusively from cold email. Smartlead has been central to our operations and has exceeded our expectations.

Founder, Growthlynk
There's so much stuff built on top of it. I would be dead if I had to rebuild it with another tool. I can manage hundreds of senders easily. I can send hundreds of thousands of emails.

Founder, Corebits
The platform's HubSpot integration, real-time Slack updates, and advanced campaign customization have been game changers for our business and our clients'.

Founder, Apex Ascension
From day one, we've never used anything else.